Blog
Xendoll has 22 years of experience in the production of small machine tools. We will help you choose the suitable machine and share our experience in CNC machining with you.

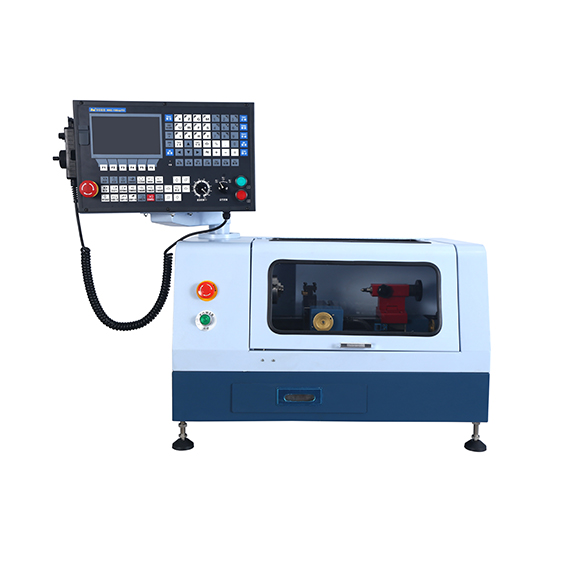
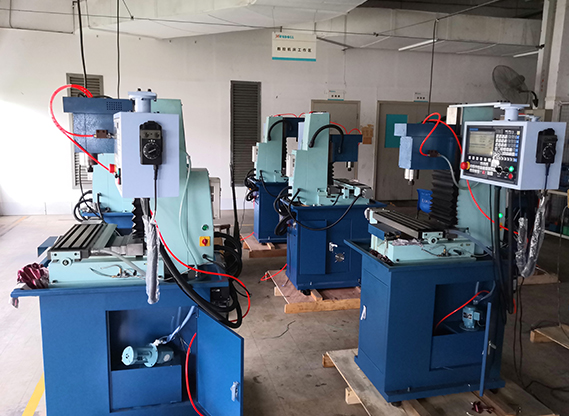
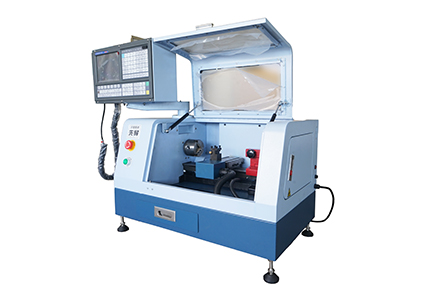
▸High performance 2 axis Lathe CNC controller.| ▸8 inches color screen, interface can be made of parameter selection in both Chinese and English.| ▸The standard spec includes MPG hand wheel.| ▸Selection of high -quality casting materials, more compact, High strength guide way.| ▸Automatic 4 positions tool post.| ▸Controller auto stop work when door open.| ▸High quality 2 axis AC Servor Motor.| ▸USB and RS232 port, DNC function of USB.| ▸Control speed of G code.| ▸Best choice for DIY or Hobby user and Education & Training CNC.|
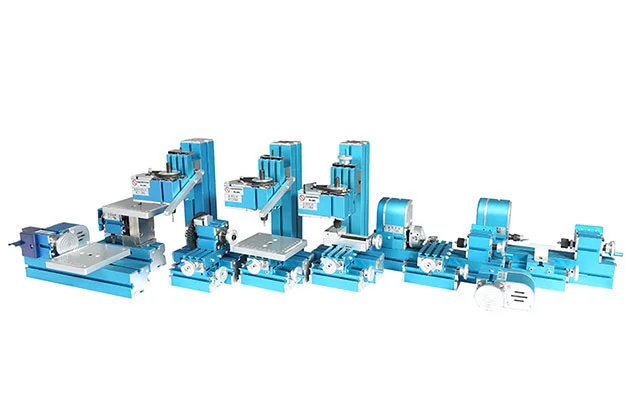
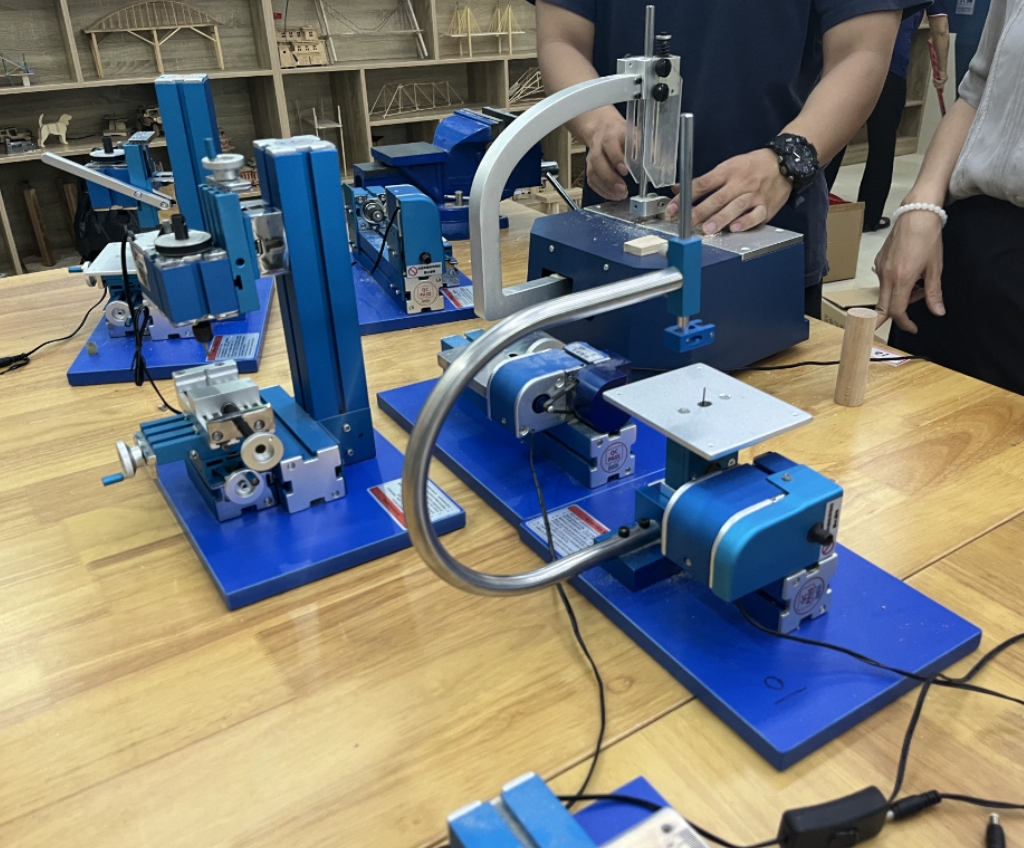
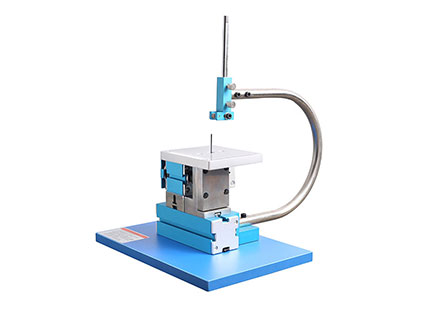
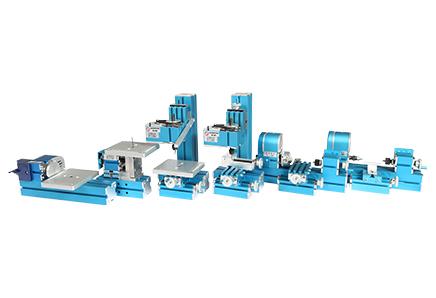
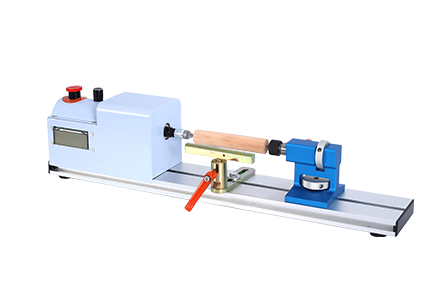
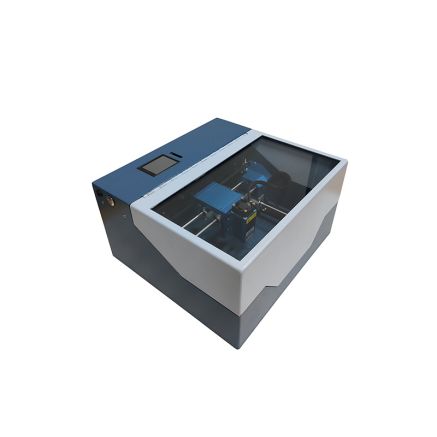
Metal Jigsaw | Metal woodturning Machine| Metal lathe Machine | Metal Milling Machine| Metal Drilling Machine| Metal Sanding Machine| Metal On-hand machine| Metal Drilling machine with dividing attachment


Xendoll has 22 years of experience in the production of small machine tools. We will help you choose the suitable machine and share our experience in CNC machining with you.
 Nov 25, 2024
 Xendoll
 1965
1965
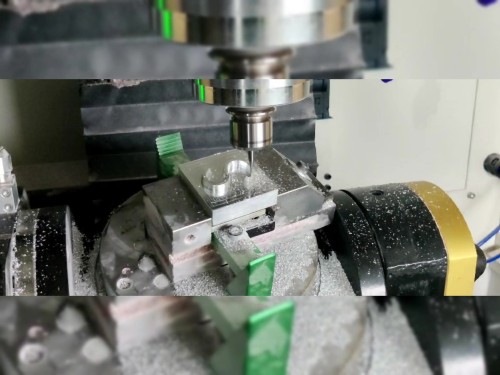
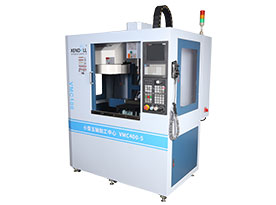
With the advancement of technology and the widespread availability of maker spaces, five-axis CNC milling machines have become essential tools for carving complex objects, models, and mechanical parts. When it comes to creative projects like sculpting Iron Man (Iron Man), a complex character with intricate designs, five-axis machines offer the precision and craftsmanship needed. This article focuses on how to use a five-axis CNC milling machine in a maker space to carve the Iron Man model, detailing the key steps and technical requirements throughout the machining process.

The key advantage of a five-axis CNC milling machine lies in its ability to move the tool in five different axes simultaneously, combining three linear axes (X, Y, Z) with two rotational axes (A and B). This allows for highly flexible tool movements in three-dimensional space, enabling the machining of complex geometries that would be impossible or very time-consuming with a traditional three-axis machine. By avoiding tool interference and reducing the need to reposition or re-clamp the workpiece, five-axis machines help streamline the machining process, enhancing both precision and efficiency.
For projects like sculpting Iron Man, which involves intricate shapes and fine details, the precision offered by a five-axis machine is especially important. The head, chest, limbs, and armor features of the Iron Man model all involve curves and complex details, making five-axis machining the ideal choice for this challenging project.
The first step in sculpting Iron Man is obtaining a precise design file. In a maker space, designers typically use 3D modeling software like Blender, Fusion 360, or SolidWorks to create the Iron Man model. To ensure the accuracy of the sculpture, the digital file should include all of the character’s features, such as the shape of the head, chest, arms, and intricate surface textures.
Once the design is complete, the 3D model file (usually in STL or OBJ format) is imported into CAM (Computer-Aided Manufacturing) software for toolpath generation. The CAM software helps create the cutting paths needed for the machine to carve the model, considering the complex geometry of Iron Man’s body. It also allows for part segmentation, making it easier to handle the complex areas, such as facial details or the chest arc reactor, by breaking the model into smaller sections.
The choice of material is crucial when carving the Iron Man model. The material needs to be machinable while providing an excellent surface finish. Common materials include:
Aluminum alloy: Aluminum is widely used in maker spaces because it’s lightweight, easy to machine, and offers a good surface finish. After carving, the aluminum can be anodized to improve its durability and aesthetic, giving it a metallic appearance.
High-density plastic or resin: For more budget-friendly projects or lighter models, high-density plastic or resin can be used. These materials can also be painted to simulate a metallic look, though they won't have the same durability as metals.
Titanium alloy or stainless steel: For a more realistic feel, titanium or stainless steel can be used, but these materials are more difficult to machine and require advanced equipment and tooling.
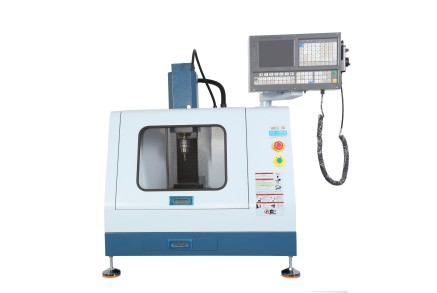
In a maker space, high-quality five-axis CNC milling machines, such as DMG Mori, Mazak, or HAAS models, are typically used for precise machining. These machines are capable of maintaining the stability and accuracy needed for sculpting detailed projects like Iron Man.
The first step is selecting the right tools for the job, ensuring the tool sizes and types are suitable for the chosen material. For detailed carving, specialized tools such as ball-end mills are often used for intricate surface detailing.
Machine setup involves tool installation, coordinate alignment, and toolpath calibration to prevent errors like misalignment or tool interference. This step ensures that the machine is ready for precise, uninterrupted operation throughout the sculpting process.

Sculpting Iron Man involves two main stages: roughing and finishing. These stages focus on different aspects of the machining process—roughing removes most of the material to establish the basic shape, while finishing focuses on refining the details and surface quality.
The goal of the roughing stage is to remove the majority of material and give the Iron Man model its basic shape. In this phase, the tool moves quickly and uses larger tools to remove large amounts of material. Since roughing doesn’t involve detailed features, the toolpath is relatively simple, with fewer adjustments to the tool's position and angle.
Thanks to the five-axis machine’s ability to move in multiple directions simultaneously, the machine can efficiently cut along curved surfaces, such as the contours of Iron Man’s head, without the need to reposition or re-clamp the workpiece. This reduces setup time and improves the efficiency of the roughing stage.
The finishing stage is where the bulk of the detail is added. After roughing, the model will have the basic shape, and now it’s time to carve intricate features such as facial lines, chest armor textures, and details on the limbs. Precision becomes crucial in this stage, as small tools (like ball-end mills) are used to carve the fine details.
The five-axis CNC milling machine allows the tool to adjust its angle in real time to stay aligned with the contours of the model, ensuring that every detail is captured accurately. This is especially important for sculpting complex curves and surfaces, like the rounded features of Iron Man’s helmet or the grooves in the armor.
During finishing, it’s essential to control the cutting parameters (speed, feed rate, depth of cut) to avoid excessive heat build-up, which can lead to material deformation or tool wear. A precise balance between cutting speed and tool engagement ensures that the details are sculpted without damaging the model or tool.
After the carving is complete, the Iron Man model will typically require post-processing. This involves removing any support structures, cleaning up rough edges, and smoothing out the surface. During this phase, sanding, polishing, or buffing may be required to eliminate tool marks or imperfections on the surface.
For aluminum or plastic models, surface treatment techniques like anodizing, painting, or applying a metallic coating can enhance the appearance and durability. Anodizing aluminum, for example, adds a protective oxide layer and can give the model a shiny, metallic finish. For more advanced materials like titanium or steel, electroplating may be used to achieve a high-gloss finish.

Using a five-axis CNC milling machine in a maker space to carve Iron Man is a complex yet rewarding process. It involves a careful blend of design, material selection, machine calibration, and detailed machining work. The five-axis machine's versatility and precision make it the ideal tool for tackling the challenges presented by Iron Man's intricate shape and fine details.
By breaking the project down into roughing and finishing stages, and employing appropriate tool paths and cutting strategies, it’s possible to achieve an impressive, highly detailed Iron Man sculpture. With the right setup and technique, a model of Iron Man can be brought to life with exceptional accuracy and craftsmanship in a maker space, showcasing the power of modern digital fabrication and the creativity it enables.


 Show all our samples
Provide you with a free quote
Answer all the questions you may have
Guided installation and other options
Show all our samples
Provide you with a free quote
Answer all the questions you may have
Guided installation and other options